Filament Blog Template
Frontend for CMS Builder to build a blog and personal websites
Screenshots




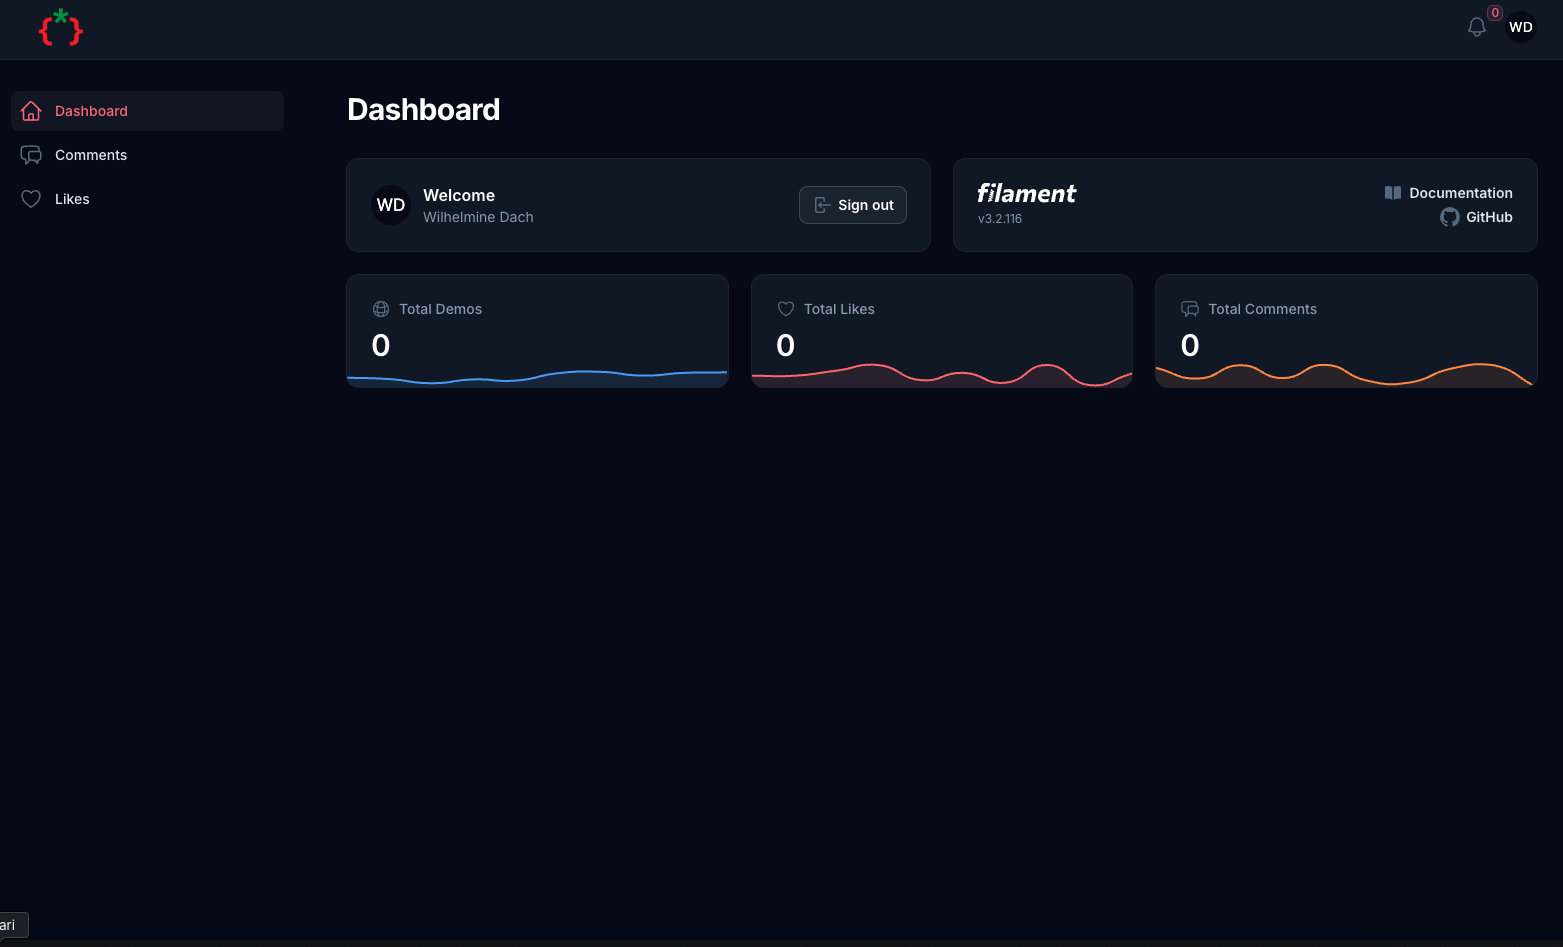

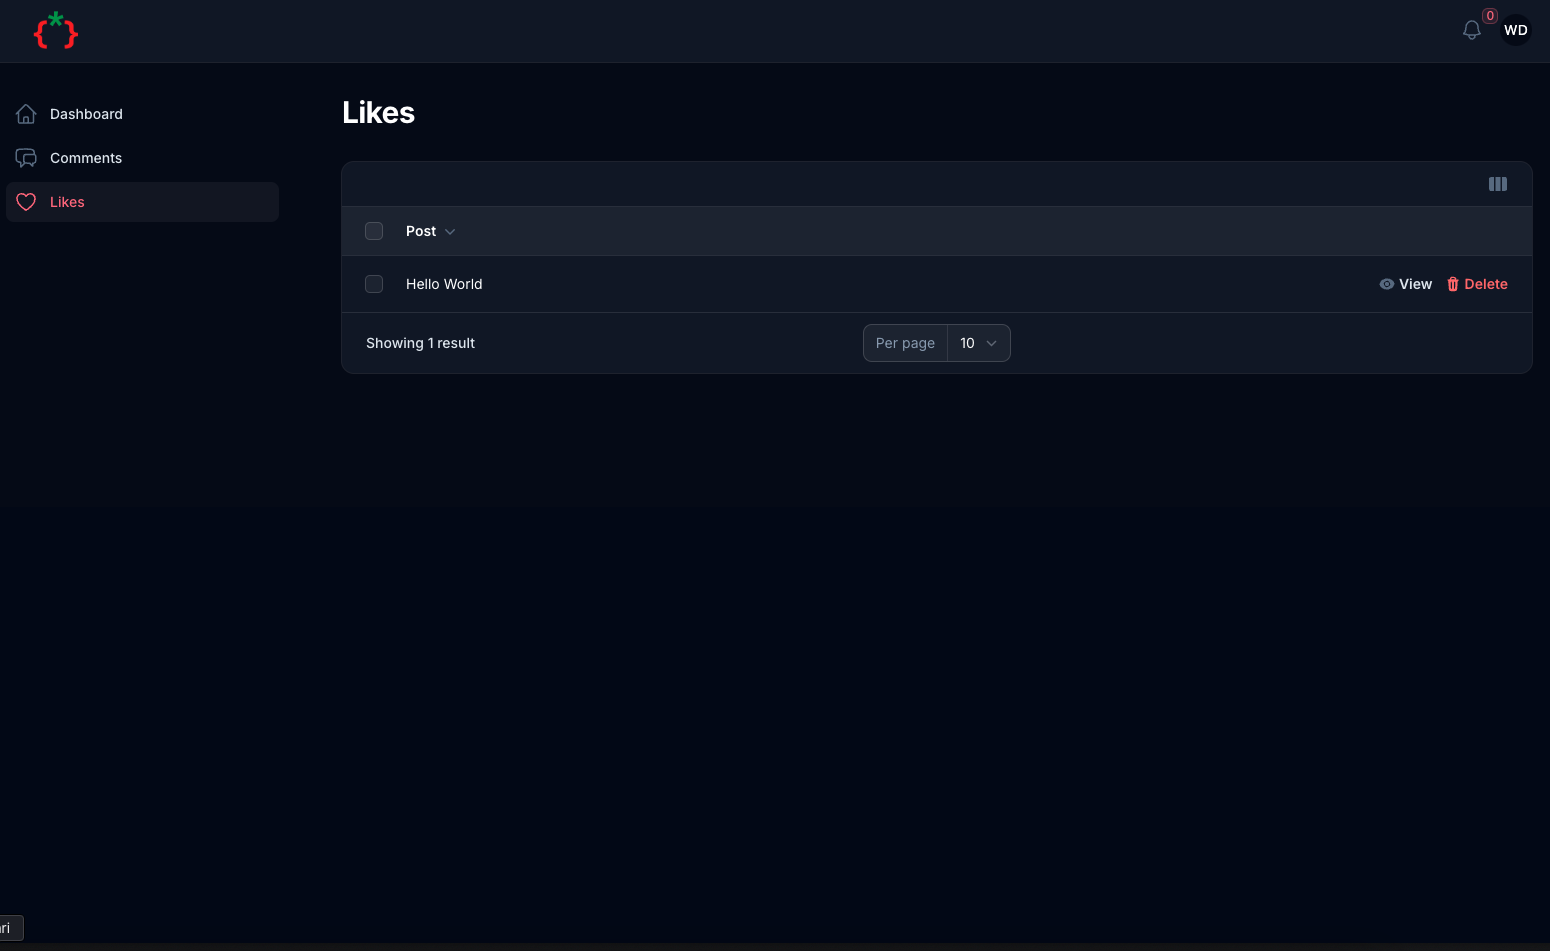
Features
- [x] Tailwind CSS Blog Template
- [x] Blog
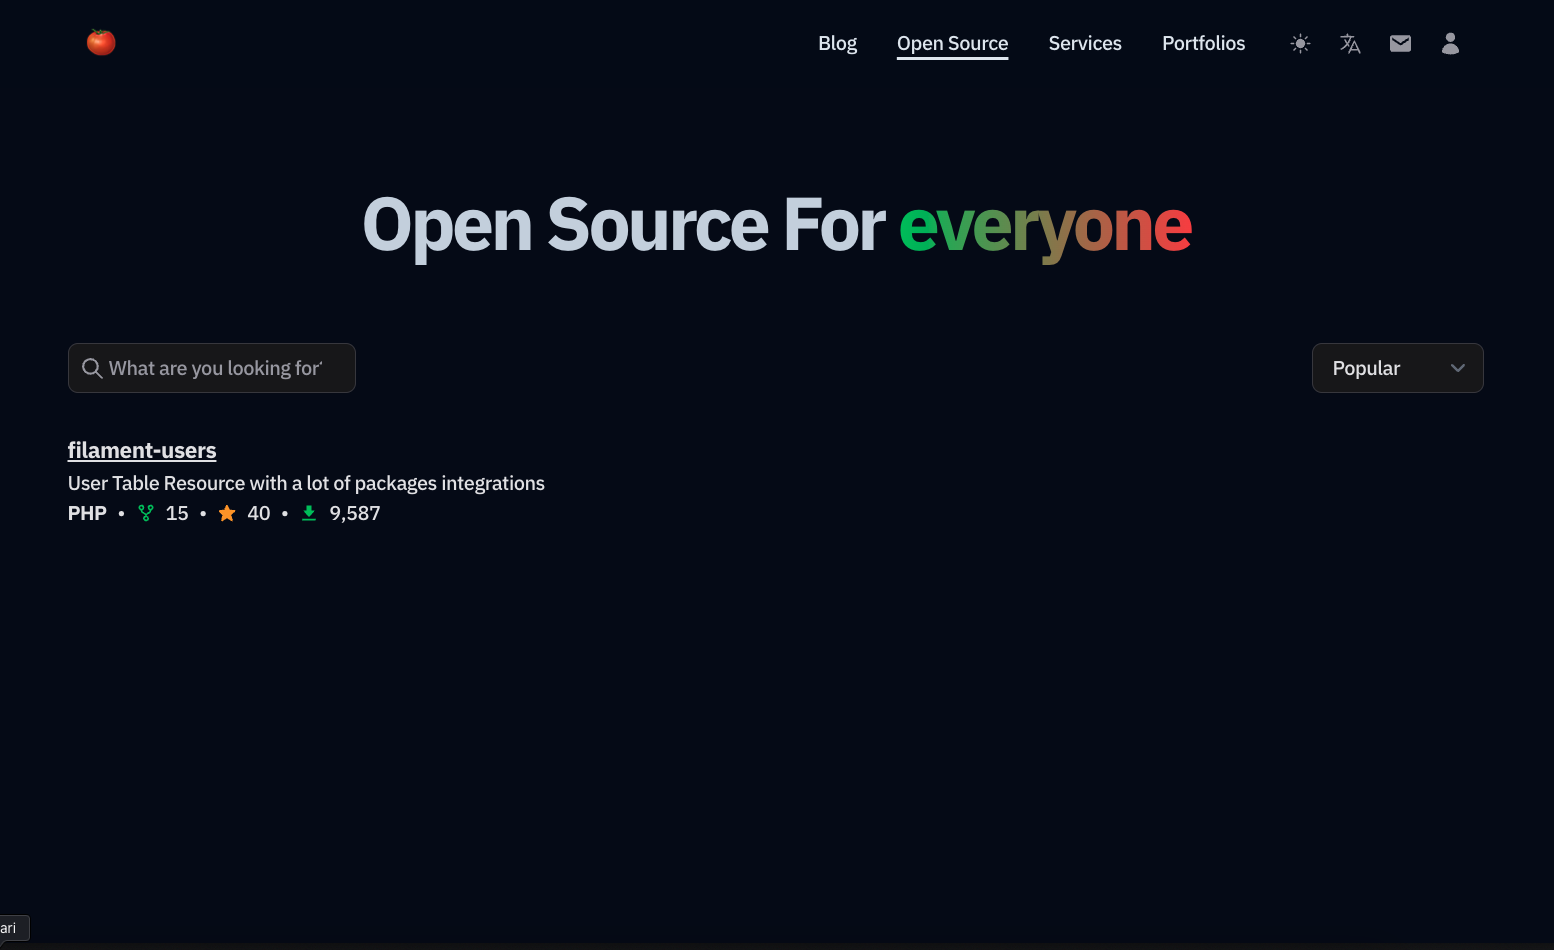
- [x] Open Source integration with GitHub / Composer
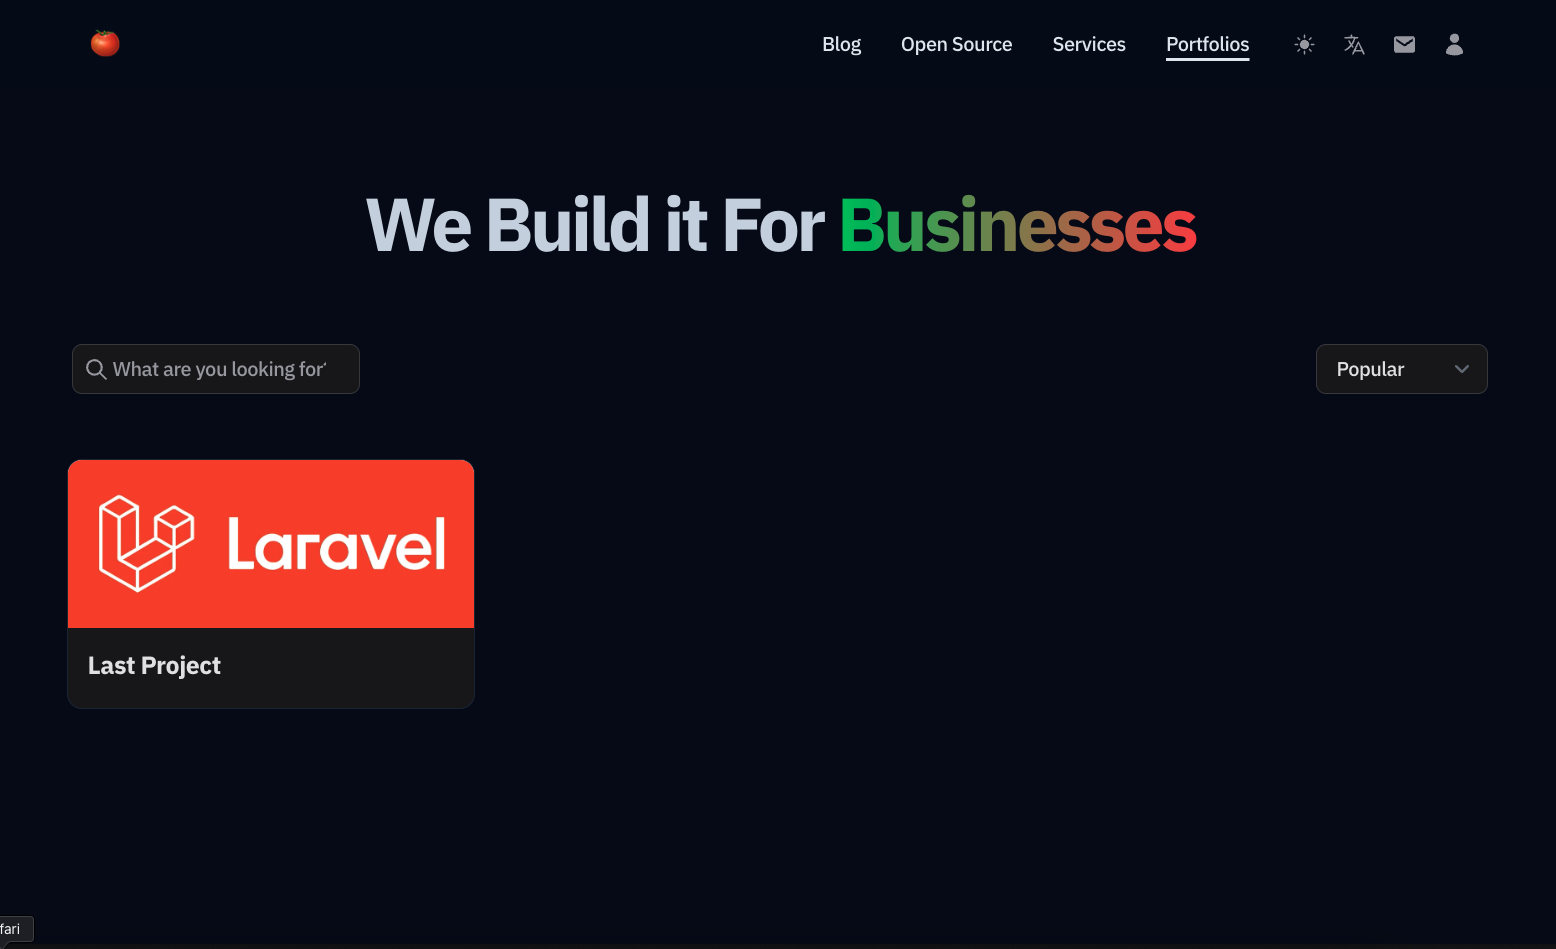
- [x] Portfolios integration with Behanace
- [x] Services
- [x] Contact Us
- [x] User Dashboard
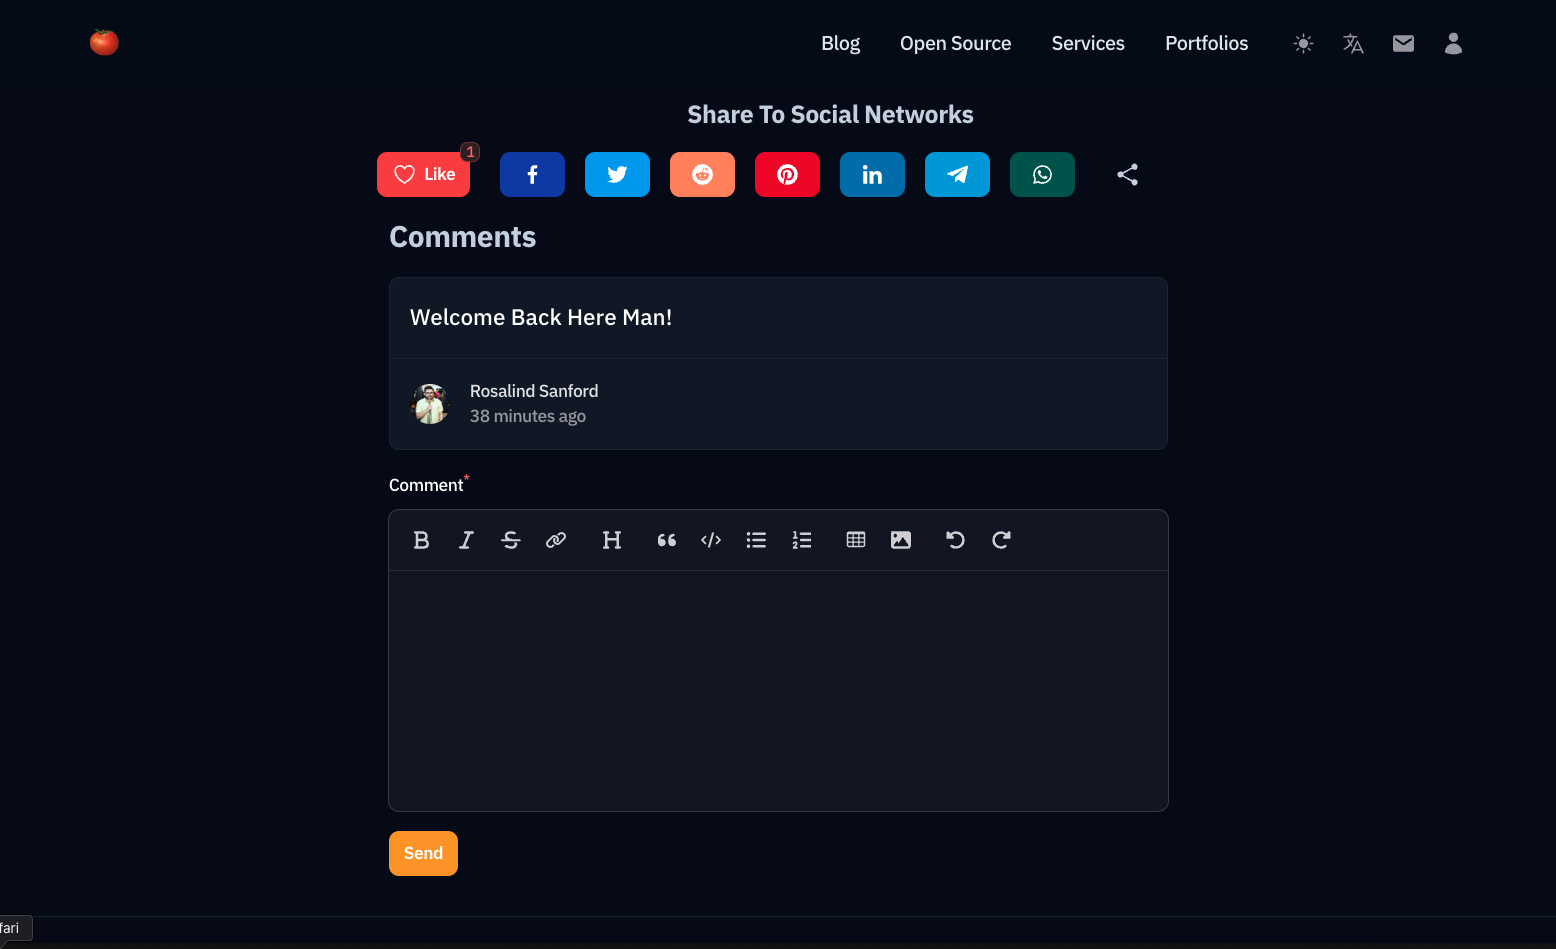
- [x] Comments
- [x] Likes
- [x] SEO Friendly
- [x] Multi Language
- [x] Dark/Light Mode
- [ ] Social Login
- [ ] RSS Feed
- [ ] Sitemap
Installation
composer require tomatophp/filament-blog
we need to publish some migrations for settings and media
php artisan vendor:publish --provider="Spatie\MediaLibrary\MediaLibraryServiceProvider" --tag="medialibrary-migrations"
php artisan vendor:publish --provider="Spatie\LaravelSettings\LaravelSettingsServiceProvider" --tag="migrations"
if you are using this package as a plugin please register the plugin on /app/Providers/Filament/AdminPanelProvider.php
->plugin(\TomatoPHP\FilamentBlog\FilamentBlogPlugin::make())
now you need to create a user panel you can follow instructions on filament-accounts
let's start by create a new panel
php artisan filament:panel app
if you need to change the panel name you can change it on config file filament-blog.php
return [
    "user-panel" => "app"
];
inside the new panel add this plugin
->plugin(
    FilamentBlogUserPanelPlugin::make()
)
and if you don't set the full user panel use it like this
->plugin(
    FilamentAccountsSaaSPlugin::make()
        ->editProfile()
        ->editProfileMenu()
        ->APITokenManager()
        ->browserSesstionManager()
        ->deleteAccount()
        ->editPassword()
        ->registration()
        ->checkAccountStatusInLogin()
)
you need to publish Account Model
php artisan vendor:publish --tag="filament-accounts-model"
and on your auth.php add a accounts guard
<?php

return [

    /*
    |--------------------------------------------------------------------------
    | Authentication Defaults
    |--------------------------------------------------------------------------
    |
    | This option defines the default authentication "guard" and password
    | reset "broker" for your application. You may change these values
    | as required, but they're a perfect start for most applications.
    |
    */

    'defaults' => [
        'guard' => env('AUTH_GUARD', 'web'),
        'passwords' => env('AUTH_PASSWORD_BROKER', 'users'),
    ],

    /*
    |--------------------------------------------------------------------------
    | Authentication Guards
    |--------------------------------------------------------------------------
    |
    | Next, you may define every authentication guard for your application.
    | Of course, a great default configuration has been defined for you
    | which utilizes session storage plus the Eloquent user provider.
    |
    | All authentication guards have a user provider, which defines how the
    | users are actually retrieved out of your database or other storage
    | system used by the application. Typically, Eloquent is utilized.
    |
    | Supported: "session"
    |
    */

    'guards' => [
        'web' => [
            'driver' => 'session',
            'provider' => 'users',
        ],
        'accounts' => [
            'driver' => 'session',
            'provider' => 'accounts',
        ],
    ],

    /*
    |--------------------------------------------------------------------------
    | User Providers
    |--------------------------------------------------------------------------
    |
    | All authentication guards have a user provider, which defines how the
    | users are actually retrieved out of your database or other storage
    | system used by the application. Typically, Eloquent is utilized.
    |
    | If you have multiple user tables or models you may configure multiple
    | providers to represent the model / table. These providers may then
    | be assigned to any extra authentication guards you have defined.
    |
    | Supported: "database", "eloquent"
    |
    */

    'providers' => [
        'users' => [
            'driver' => 'eloquent',
            'model' => env('AUTH_MODEL', App\Models\User::class),
        ],
        'accounts' => [
            'driver' => 'eloquent',
            'model' => \App\Models\Account::class,
        ],
    ],

    /*
    |--------------------------------------------------------------------------
    | Resetting Passwords
    |--------------------------------------------------------------------------
    |
    | These configuration options specify the behavior of Laravel's password
    | reset functionality, including the table utilized for token storage
    | and the user provider that is invoked to actually retrieve users.
    |
    | The expiry time is the number of minutes that each reset token will be
    | considered valid. This security feature keeps tokens short-lived so
    | they have less time to be guessed. You may change this as needed.
    |
    | The throttle setting is the number of seconds a user must wait before
    | generating more password reset tokens. This prevents the user from
    | quickly generating a very large amount of password reset tokens.
    |
    */

    'passwords' => [
        'users' => [
            'provider' => 'users',
            'table' => env('AUTH_PASSWORD_RESET_TOKEN_TABLE', 'password_reset_tokens'),
            'expire' => 60,
            'throttle' => 60,
        ],
    ],

    /*
    |--------------------------------------------------------------------------
    | Password Confirmation Timeout
    |--------------------------------------------------------------------------
    |
    | Here you may define the amount of seconds before a password confirmation
    | window expires and users are asked to re-enter their password via the
    | confirmation screen. By default, the timeout lasts for three hours.
    |
    */

    'password_timeout' => env('AUTH_PASSWORD_TIMEOUT', 10800),

];
now it's time to install
php artisan filament-blog:install
after install please run npm
npm i && npm run build
you need to clean up your web.php routes file and make sure that the / route does not point anywhere.
now you can visit your website and you will see the blog
Publish Assets
you can publish config file by use this command
php artisan vendor:publish --tag="filament-blog-config"
you can publish views file by use this command
php artisan vendor:publish --tag="filament-blog-views"
you can publish languages file by use this command
php artisan vendor:publish --tag="filament-blog-lang"
you can publish migrations file by use this command
php artisan vendor:publish --tag="filament-blog-migrations"
Other Filament Packages
Checkout our Awesome TomatoPHP