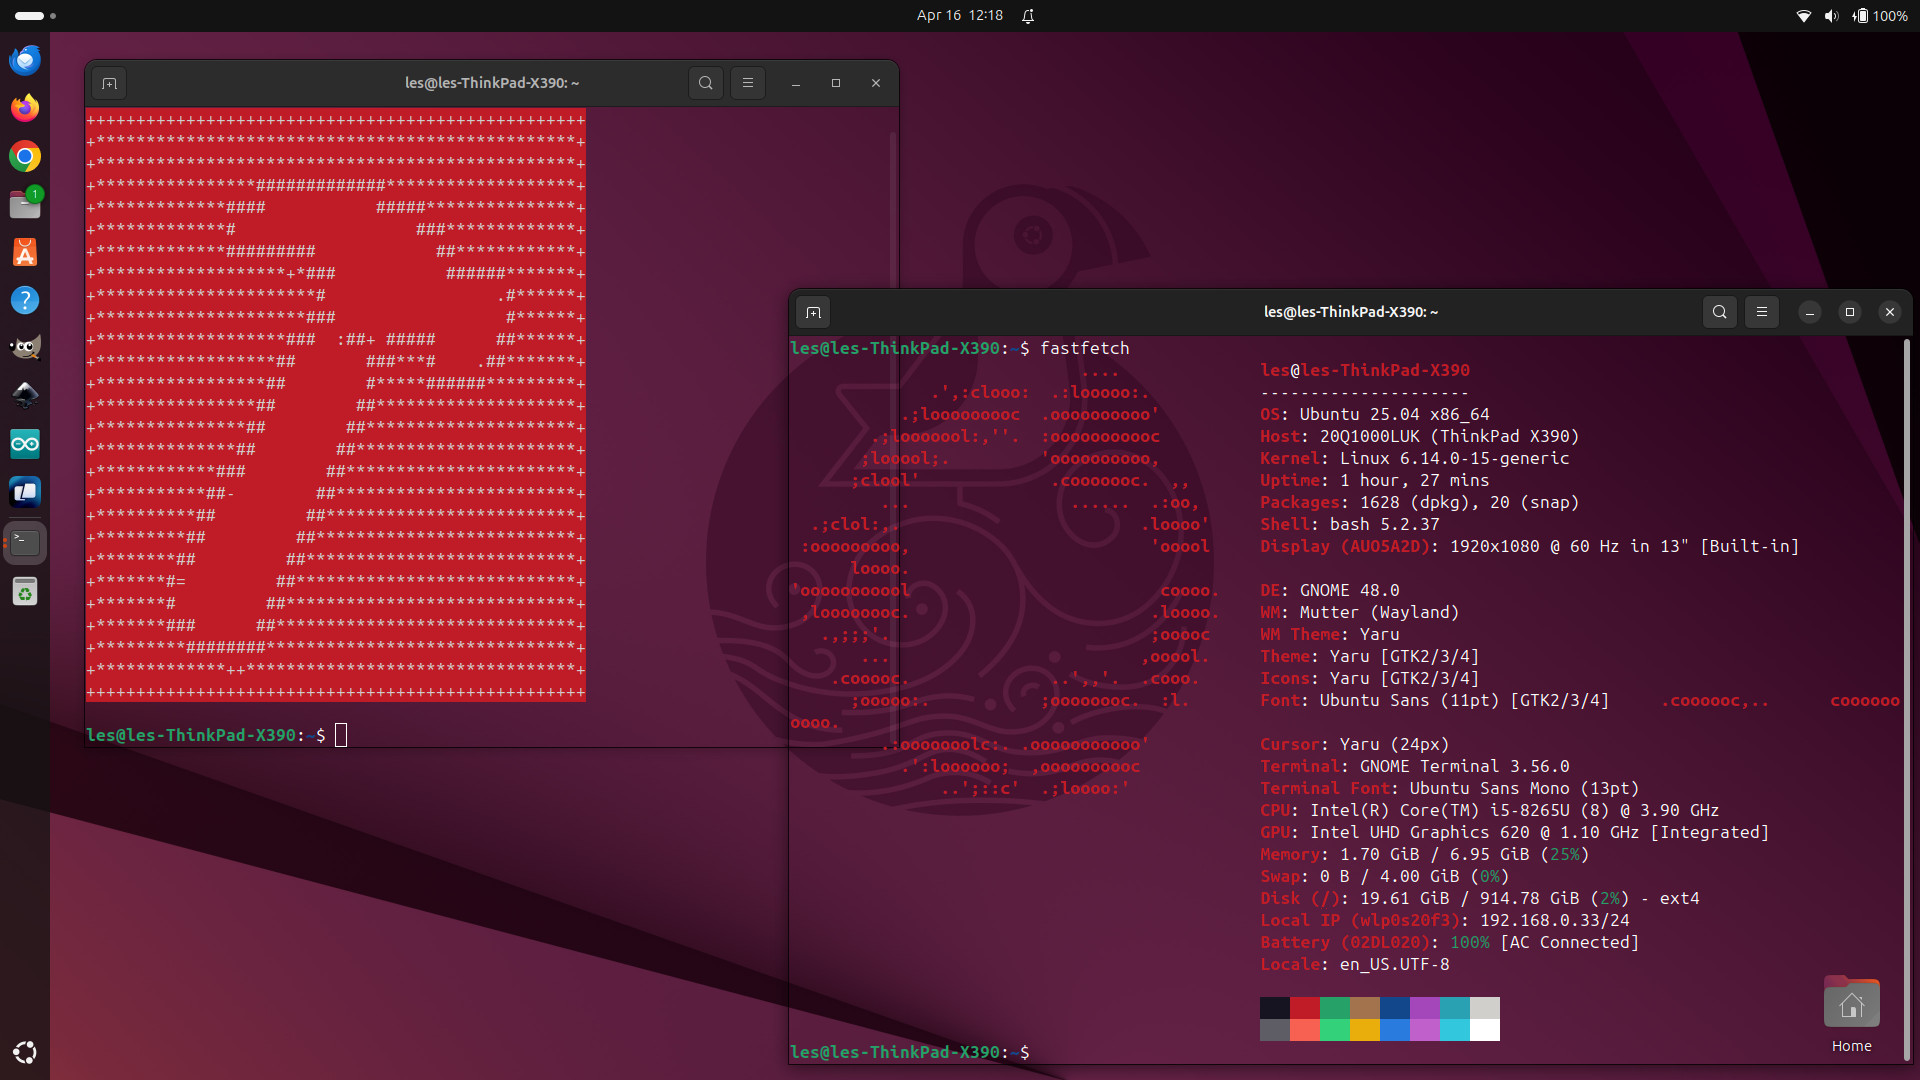
Many beginner developers in the field of programming in the PHP language and using the Laravel scope of work use a set of software to run their applications in the local work environment “their own devices”, and in this case many of them use operating systems that do not fully suit the requirements of the programming language or scope of work, so in this The article will solve this problem completely to communicate the best way to run PHP / Laravel software on the Linux Ubuntu operating system.
First, why Ubuntu?
To answer this question, you can refer to the article Why do you use Ubuntu Linux on my site.
Second, the installation process has begun on Ubuntu Linux
To start the installation process, you must have an Ubuntu Linux operating system installed on your computer with a version of at least Ubuntu 20 that is clean and does not contain any PHP applications.
If you have this system, now is the time to start the installation process:
Let's start installing some important software that must be present. To start the installation process, open the Terminal and prepare to use the following commands:
sudo add-apt-repository -y ppa:nginx/stable
sudo apt install software-properties-common
sudo add-apt-repository ppa:ondrej/php
sudo apt-get update
sudo apt-get install network-manager libnss3-tools jq xsel curl
In these commands, we add new libraries to the system, namely the PHP library for recent versions of it, and the Nginx library, which is the server server that will serve our applications.
Now we start the installation process.
PHP language installation
To install PHP, you must use the following commands:
sudo apt install php8.1-fpm
sudo apt install php8.1-cli php8.1-common php8.1-curl php8.1-mbstring php8.1-opcache php8.1-readline php8.1-xml php8.1-zip php8.1-mysql php8. 1-gd
Thus, the PHP installation process has been completed successfully, and you can verify this by following this command:
php -v
Installing the MySQL database engine
In order to install the MySQL database engine, you must use the following command:
sudo apt-get -y install mysql-server
After the installation process is complete, you must use the following command to specify the master password for the MySQL server
sudo mysql_secure_installation
How to specify a MySQL password
As shown in the attached image, you can use any password and it is preferable to use a strong password for protection.
Now we have to confirm the password that we set for the server through the following commands:
sudo mysql
This command opens the MySQL server to write commands directly on the server
ALTER USER 'root'@'localhost' IDENTIFIED WITH mysql_native_password BY '12345678'
So that 12345678 is the password for the MySQL server
FLUSH PRIVILEGES;
This command deletes the old permissions to confirm the password change
This command will exit from the MySQL server
exit;
To ensure that the installation process is successful, you can use the following command:
mysql -u root -p
You will be asked for the password, enter it, and if you log into the MySQL server, this means that the installation process is successful
Install the PHP/Composer library manager
To install the Laravel scope and PHP libraries, we need the Composer library manager, which automatically installs the PHP libraries in different projects. To install it, we need to use the following command:
curl -sS https://getcomposer.org/installer | sudo php -- --install-dir=/usr/local/bin --filename=composer
To make sure that the installation process was successful, you can use this command:
composer -v
Thus, the process will be successful
Install Laravel/Valet server manager
It is one of the best Laravel libraries for managing local servers with the aim of developing PHP / Laravel software. It is the library that Laravel mainly supports, Valet, which manages the server instead of you with easy commands and an ideal way that makes you control your applications as if they were running on the server directly.
To install this library, you can use the following command:
composer global require genesisweb/valet-linux-plus
After the installation process, the terminal must be directed to the main file source for the Composer libraries, so that you can use the Valet command directly in the terminal, through the following command:
PATH="$PATH:$HOME/.config/composer/vendor/bin"
Now you are ready to install Valet+ on your personal computer through the following command:
valet install
At the end of the installation process, you will be asked for the MySQL server password. Enter it.
Install the PHPMyAdmin destination to manage the databases
To do this process, it will require the presence of the latest version of PHPMyAdmin on your device, but before this process, let's work in an organized manner and create a folder to collect all development work in it and link this file mainly to be the main folder for Valet
cd ~
mkdir Sites
cd Sites
valet park
In this way, you have defined this folder as the main folder for use in any PHP project for Valet Server Manager
Now inside this new “Sites” folder, you can install the first PHP application, which is PHPMyAdmin, by downloading the latest version of the application through the following command:
wget https://files.phpmyadmin.net/phpMyAdmin/5.2.0/phpMyAdmin-5.2.0-all-languages.zip
You will find that there is a new file added in the folder. Extract the files from inside this compressed file through the following command:
unzip phpMyAdmin-5.2.0-all-languages.zip
After extracting the files, rename the folder to phpmyadmin because Valet uses the folder name to be your domain to access the application such as https://phpmyadmin.test through the following command:
mv phpMyAdmin-5.2.0-all-languages phpmyadmin
Now go to the application folder by the following command:
cd phpmyadmin
And use the following Valet command to secure the application's scope
valet secure
You may be asked for the operating system password, enter it
Now the last step is to secure the phpmyadmin application by the following command:
cp config.sample.inc.php config.sample.php
nano config.sample.php
This command will open the nano editor for you to modify the settings file of the application to add the password as follows:
$cfg['blowfish_secret'] = 'YK07LhNSe50vrj,HwBfb.l3gpbv;u8b7',
From the keyboard, use CTRL + x and then y to save the file. In this way, the installation process is successful. To make sure of this, you can visit the link https://phpmyadmin.test. You will be asked for the root username and the password for the MySQL server.
Comments (0)
Join the discussion
Please login to comment
LoginNo comments yet
Be the first to comment
Related Articles

🚀 Deploy Laravel App Using GitHub Actions

🚆 What are algorithms

